
In this guide you invite colleagues, assign roles and control exactly who may see and do what — including brand assignment and optionally mandatory two-factor sign-in.
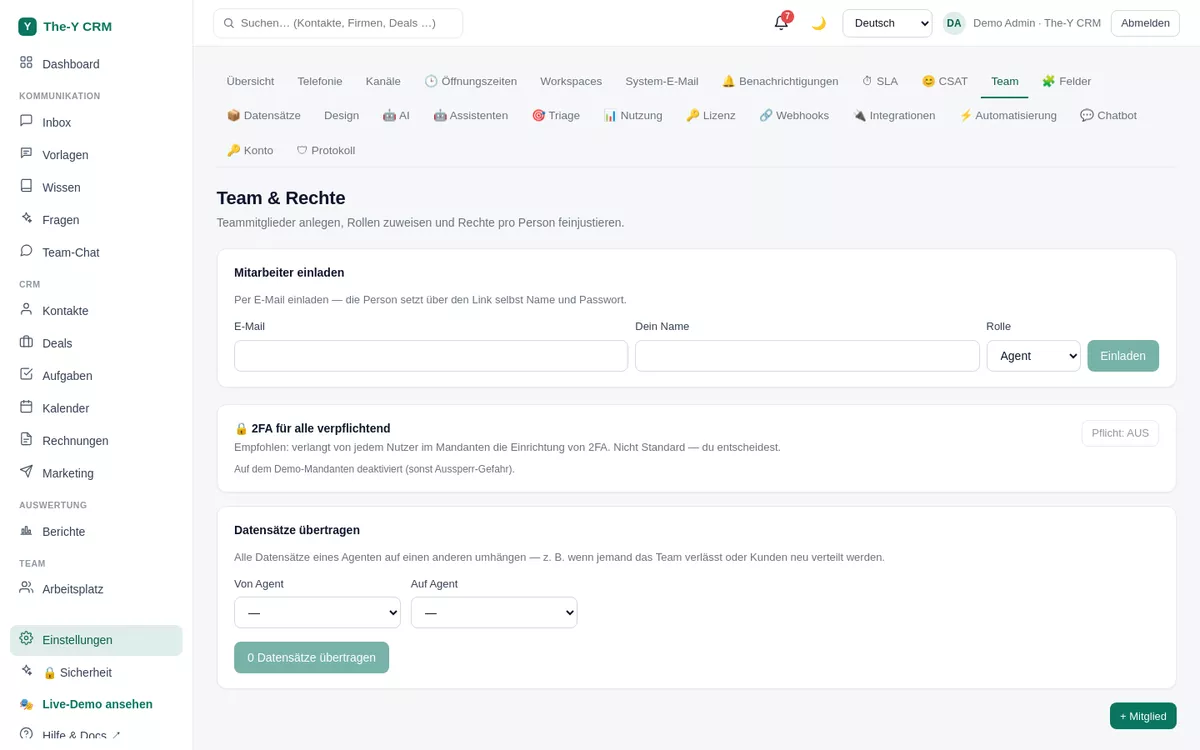
Each person has one or more roles. The scope determines whose data (contacts/deals/tickets) they access.
| Role | Typically allowed | Scope |
|---|---|---|
| Admin | everything — incl. settings, team, billing, integrations | all |
| Supervisor | CRM + analytics for the whole team, approvals (e.g. leave), no operator settings | all / team |
| Agent | edit own contacts/deals, answer tickets | own (or team) |
Scope: own (only what's assigned to/owned by me), team (my team), all (the whole tenant). "Owned by me" means: assignee or creator.
In addition to the role, you fine-tune individual rights per person — in the member editor, set each right to inherit (from the role), allow or deny.
company.view to "allow". Conversely, block specific actions with "deny".Rights apply everywhere: menu items are hidden, "new/edit/delete" buttons disappear, and the server checks every action (no bypass via the URL).
If you have multiple brands (workspaces), you assign in the member editor under "Workspaces" which brands a person sees. Agents only see the inboxes of their brands; admin/supervisor see all. That way you cleanly separate multiple customer brands, for example — one bill, multiple brands.
Invitations expire or may have been revoked. Simply resend the invitation in Settings → Team. (Invitation emails need a configured system mailbox; if none is set, give the person the link directly.)
This is intentional: changing your own role/rights is blocked so you can't accidentally lock yourself out. Another admin can change it (multiple admins are equal-rank).
This is controlled by the scope (own/team/all) plus the overrides. For "own customers only" → scope own. For targeted exceptions, set individual rights to allow/deny.
First sign in with a recovery code. If that's not possible, an admin resets the person's 2FA in Settings → Team; then they set up 2FA again.